Modular Drones
Documentation for the Modular Drones Minecraft mod
Project maintained by KesslerCascade Hosted on GitHub Pages — Theme by mattgraham
Getting Started
This guide walks through building and equipping your first drone.
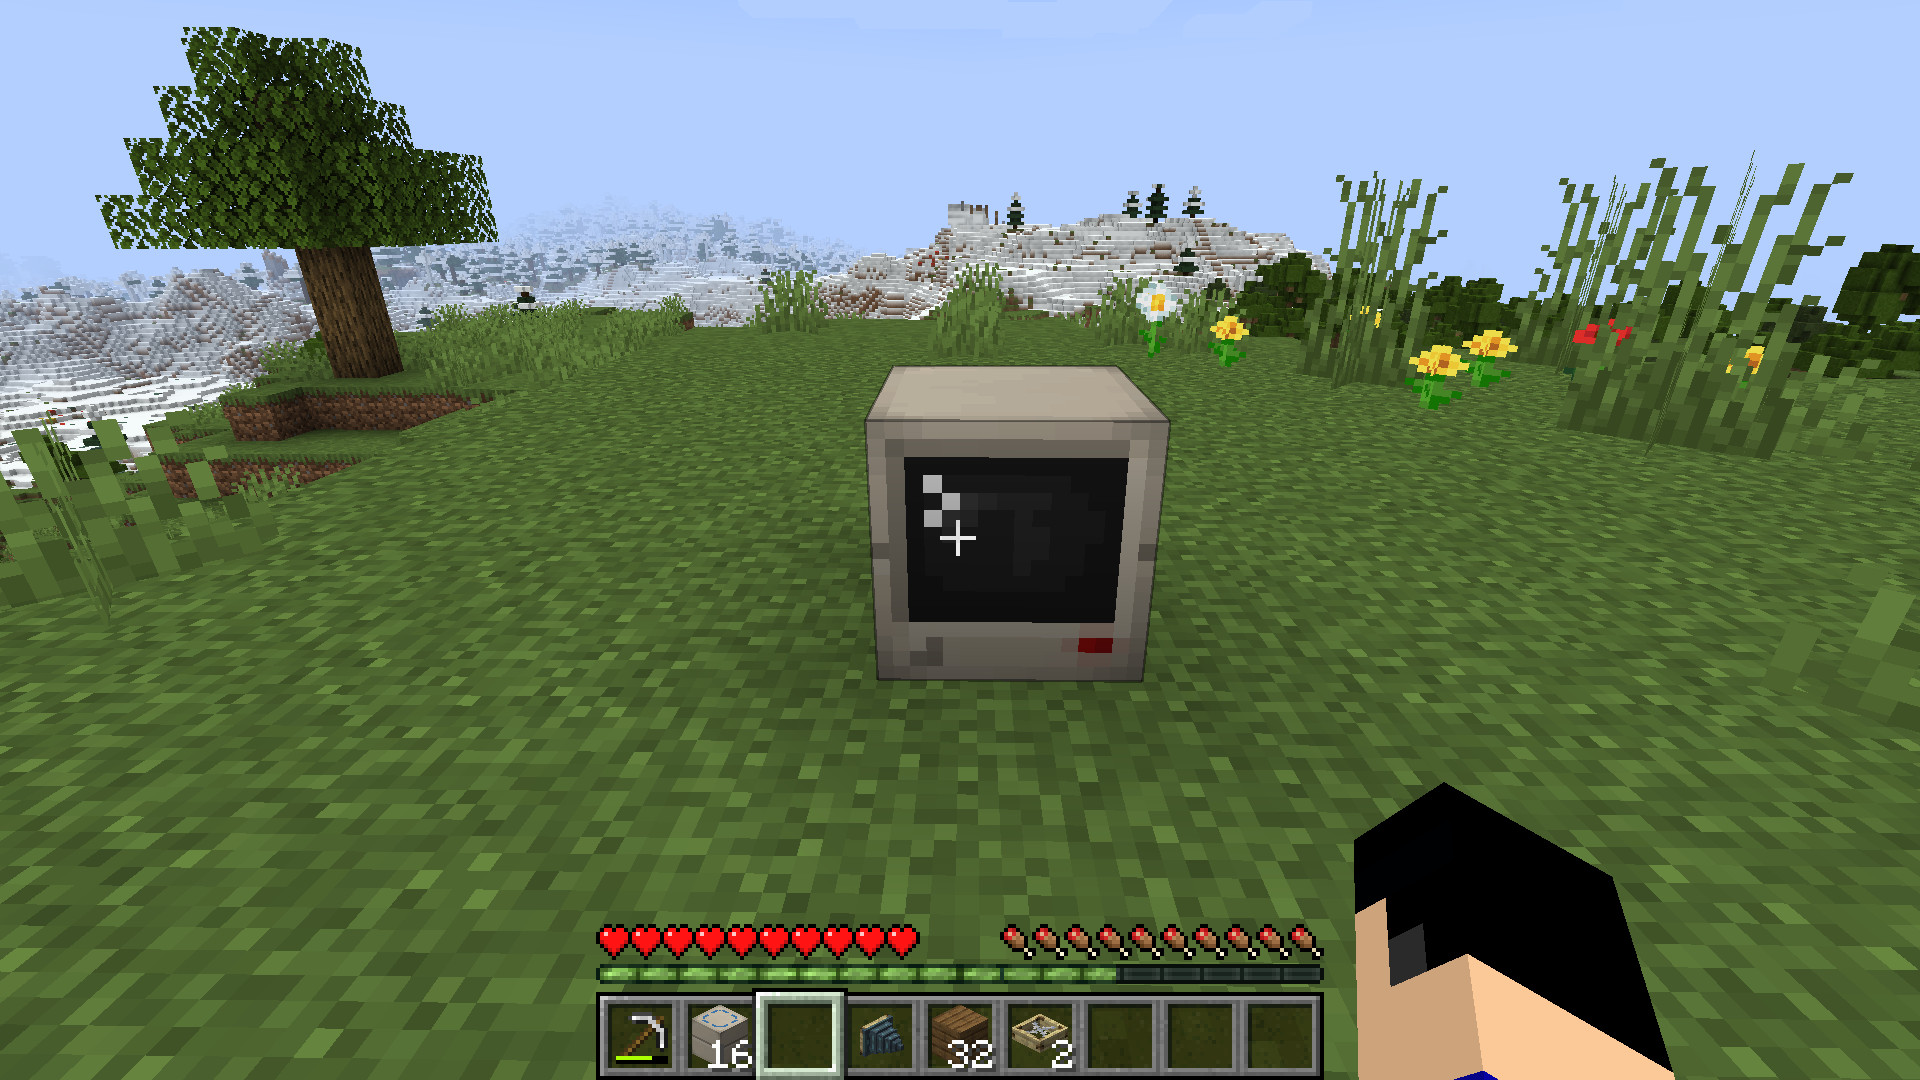
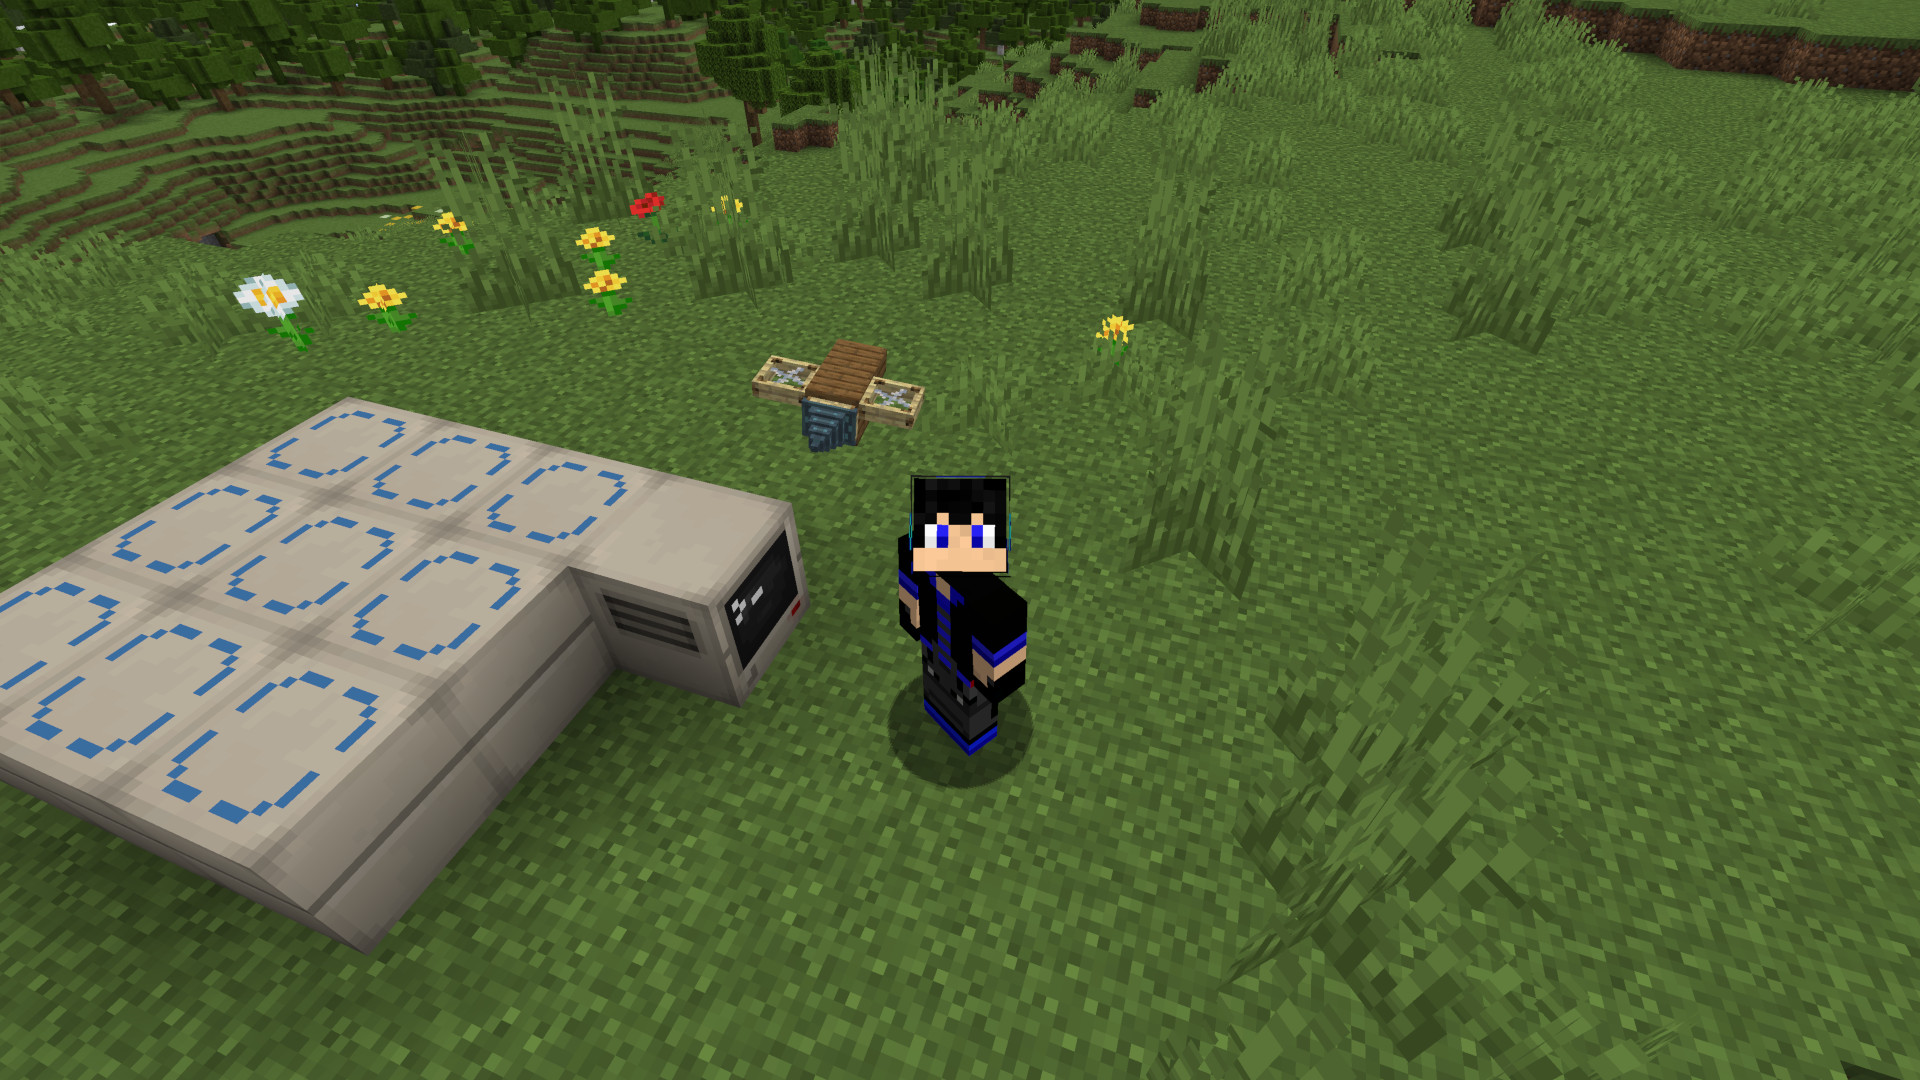
1. Place the Drone Assembly Controller
Place a Drone Assembly Controller block. When placed, it faces toward you — this facing determines which side of your finished drone will be the “front” (the side abilities like the arrow launcher or melee attack will fire from).
2. Build the assembly platform
Place Assembly Frame blocks next to the controller to form a platform. The frame blocks can be placed in any orientation and any connected arrangement — the controller will detect the whole connected platform automatically.
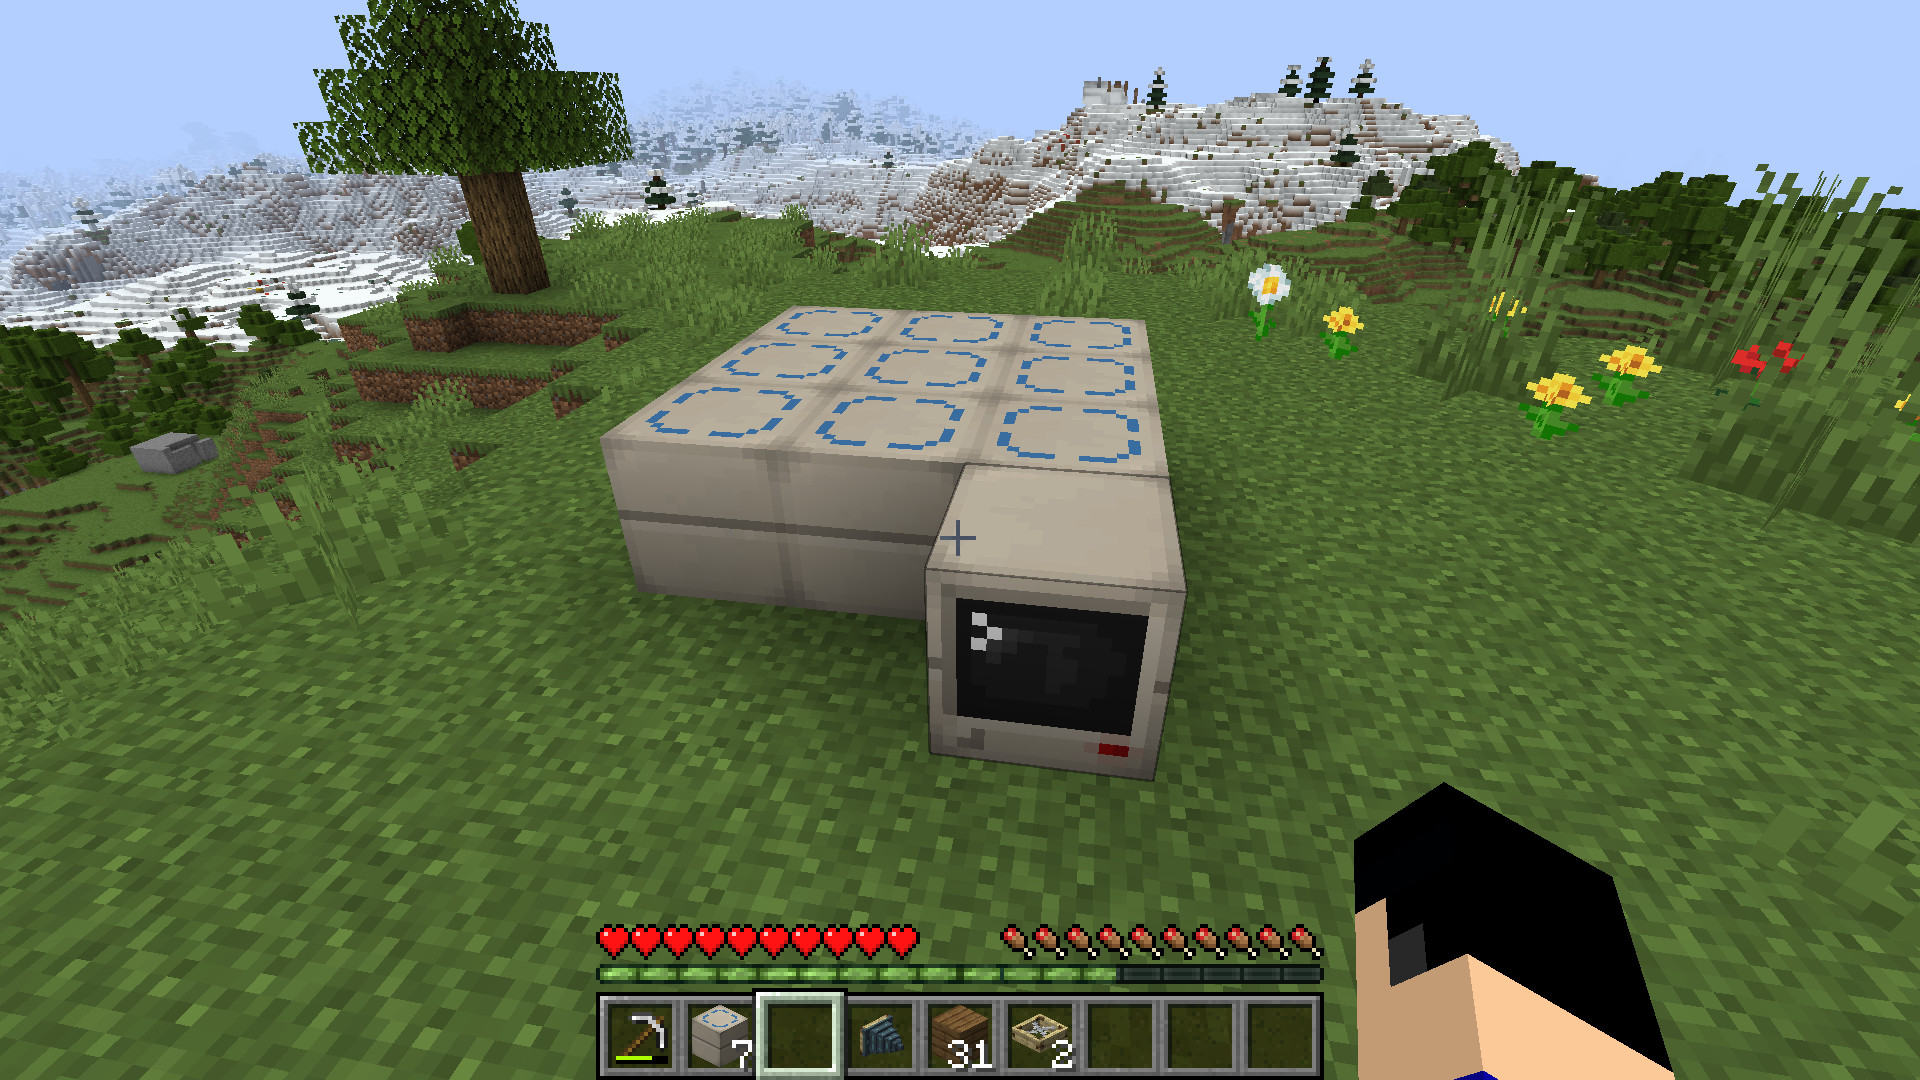
Tip: The platform doesn’t actually have to be square; all the frame blocks just have to be connected to a controller or other frames. This can be useful for making oddly shaped drones on a budget.
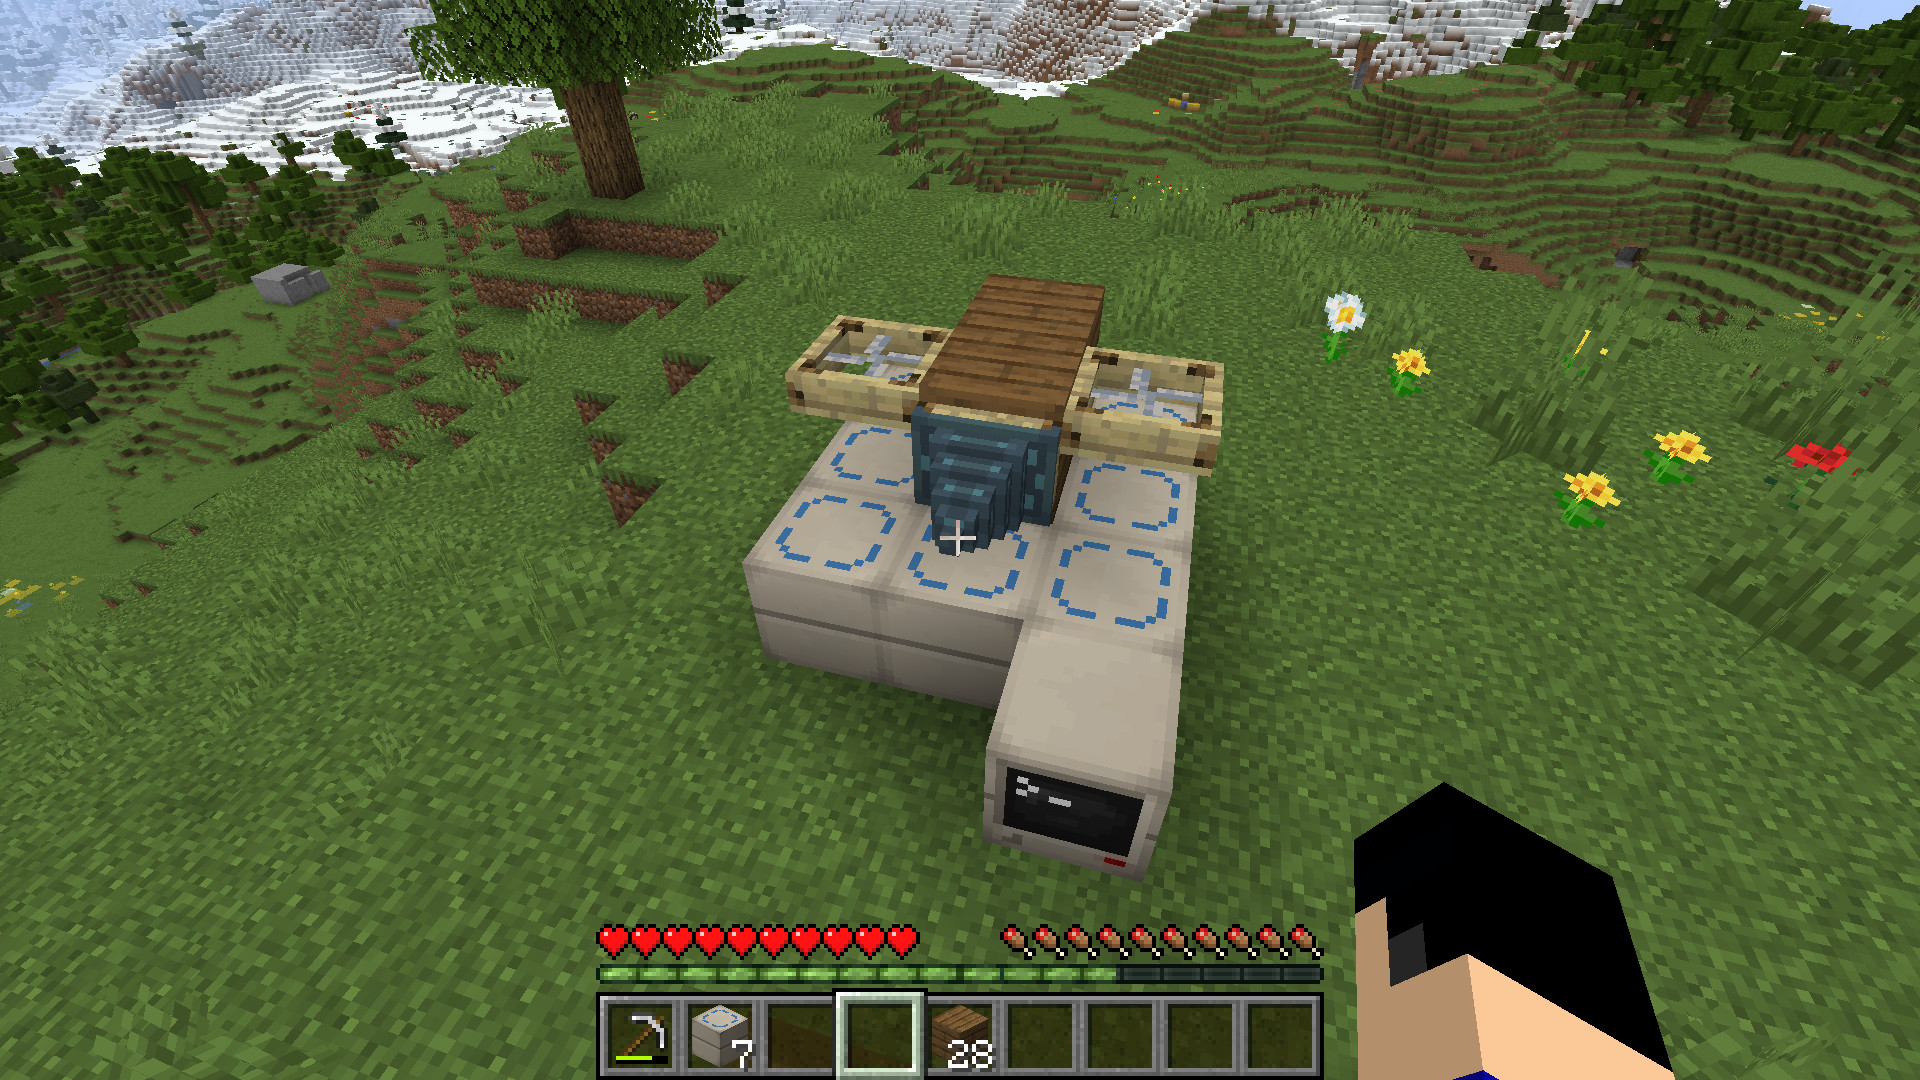
3. Build your drone
On top of the frame blocks, build the shape of your drone out of whatever blocks you like. A drone can be made of up to 1000 blocks, of any type. At minimum you’ll want one of the rotor blocks (Wooden Rotor, Advanced Rotor, or Ion Thruster) so your drone can fly — see the Abilities Reference for rotor details and other useful blocks. Any block that is going to be part of your drone needs to have an Assembly Frame somewhere below it.
4. Assemble it
Right-click the controller to open its UI. This shows useful stats about your build, such as weight and flight power. When you’re happy with your design, click BUILD! The drone in the world is converted into a Pocket Drone item, which drops for you to pick up.

Tip: before you click Build, give your drone a name in the controller UI! It’s about to become your faithful little companion, so it deserves a proper one.
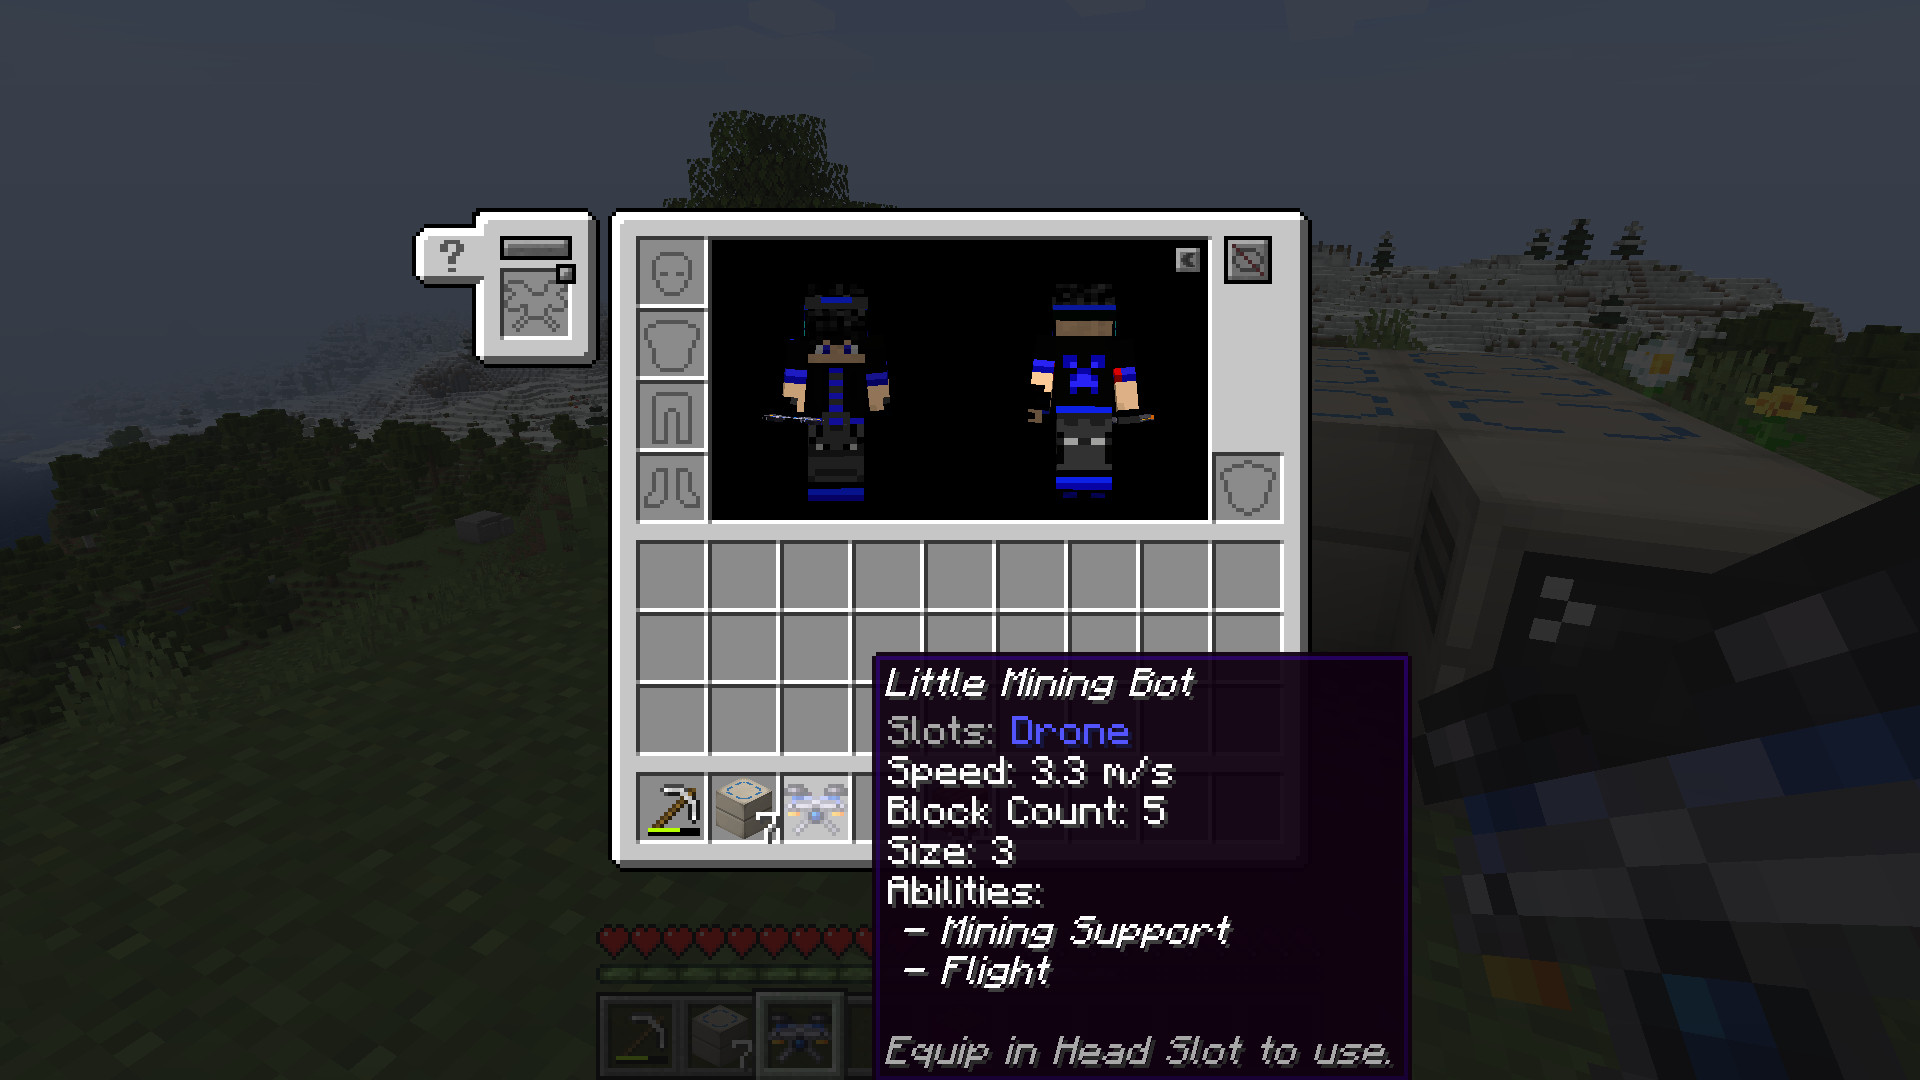
5. Equip your drone
If you have Curios (NeoForge) or Trinkets (Fabric) installed, equip the Pocket Drone in the dedicated Drone slot it adds. Otherwise, wear it in your helmet slot to activate it.
 |
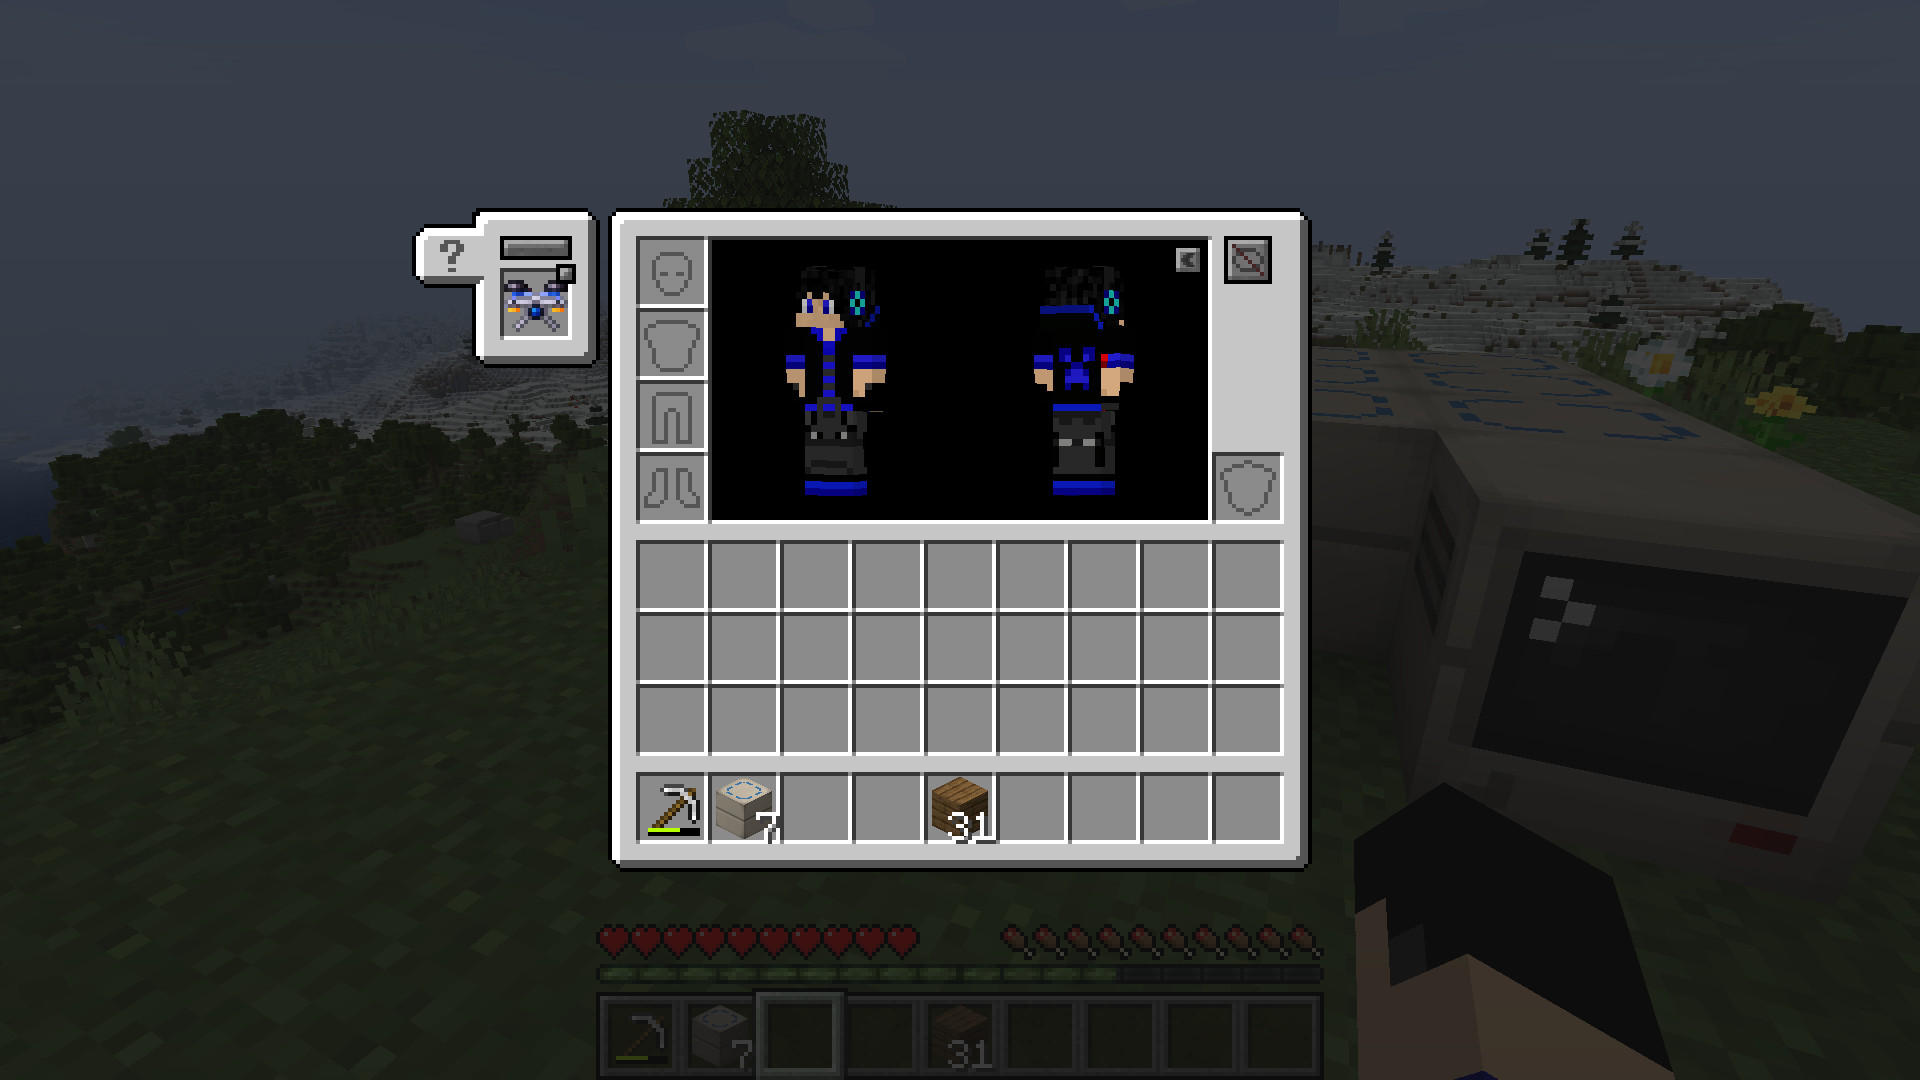 |
Once equipped, the drone is always active — there’s no fuel or activation step. It’ll hover near you and use whatever abilities its blocks give it.
6. Editing your drone later
To make changes, place the Pocket Drone item on a controller with an attached frame (it doesn’t need to be the exact same platform or position as before — the controller will find space for it automatically). This converts it back into real blocks so you can edit it, then assemble it again.
What’s next?
Check out the Abilities Reference to see what each block does and where it needs to go on your drone.